Golf Swing Fix: Correct Your Hands & Elbows for Pure Strikes
7 September, 2026Logan Hart0 Comments1 category
Your elbow aches after every range session, and your shots still leak right. That’s not a coincidence. Golf elbows — sore, achy joints from a faulty swing — are usually the same root problem as your thin contact and weak slice, not two separate issues you need to solve one at a time.
Most golfers treat elbow pain like a medical problem and their ball flight like a technique problem. Fix the mechanics behind both your grip and your release, and the pain and the mishits usually clear up together.
Why Your Elbow Hurts and Your Strikes Are Ugly at the Same Time
The short answer: a bad grip or an early release forces your trail elbow to do work your body should be doing, and that overload shows up as both pain and poor contact. Medial epicondylitis, the medical name for golfer’s elbow, is inflammation on the inside of the elbow from repetitive strain — and a swing fault is almost always the trigger.
Golfer’s elbow doesn’t only happen to golfers. It’s common in anyone doing repetitive gripping and flexing motions, but golfers get hit with it because of one specific habit: casting the club early and yanking through impact with the hands and forearms instead of the body. That strain lands right on the medial epicondylite tendon attachment.
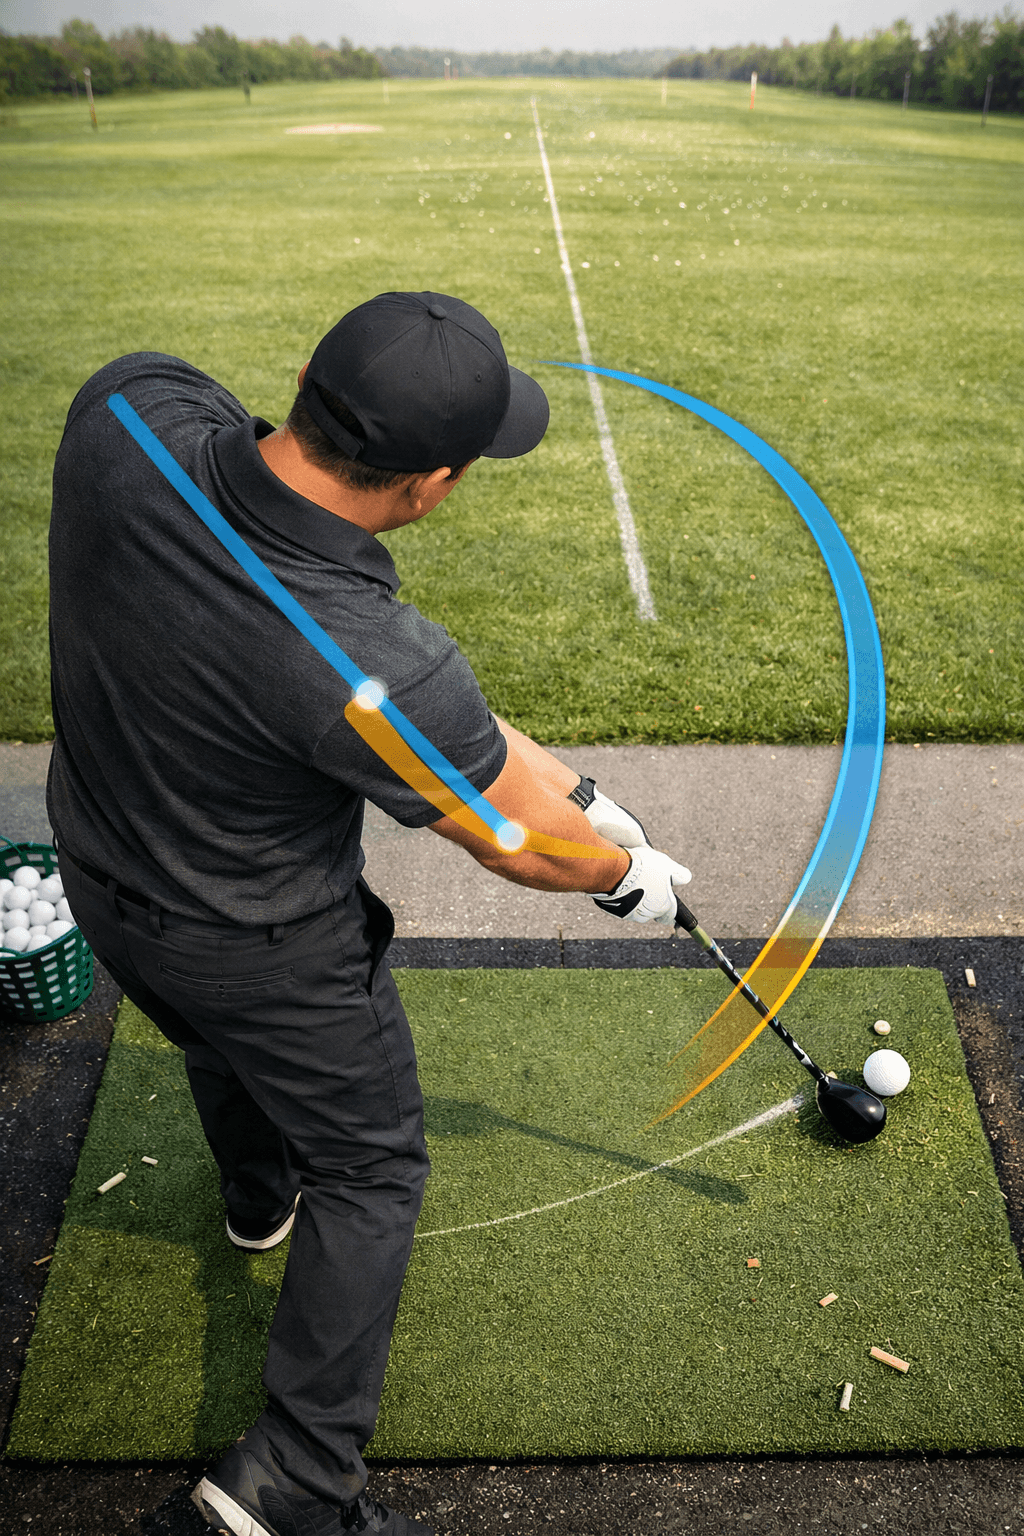
Here’s the part most players miss. A chicken wing swing — where your lead elbow bends and pulls up and away at impact instead of staying extended toward the target — puts extra stress on the trail arm to compensate. You get a weak, glancing strike and a sore elbow from the same broken movement.
Ignoring the swing fault and just resting the joint is a half-measure. You’ll feel better for two weeks, go back to the same motion, and the pain returns by your next round.
Grip and Lead Arm: The Foundation Everyone Skips
Your grip and lead arm position set up everything downstream, including how much load your elbows absorb. Get these two right and you remove most of the strain before the club even starts moving.
Check Your Grip Pressure First
A death grip on the club — squeezing like you’re trying to choke it — locks up your forearms and transfers tension straight into your elbows. Aim for pressure around a 4 out of 10, firm enough to control the club but loose enough that your wrists can hinge freely. If you can see white knuckles at address, you’re already fighting yourself.
Straight, Not Stiff
The lead arm should stay straight through the backswing and into impact, but straight doesn’t mean locked or rigid. A stiff, hyperextended lead arm is an overcorrection that creates its own tension pattern and can strain the elbow just as badly as a bent one. Think “relaxed and extended,” the way your arm hangs when you’re carrying a bag by the handle — firm, not frozen.
Grip and lead arm errors compound fast. A grip that’s too tight combined with a locked lead elbow gives you almost zero room to release the club naturally, which pushes the compensation further down the chain to your trail elbow and wrist.
Trail Elbow Tuck and Sequencing: The Real Fix for Pure Contact
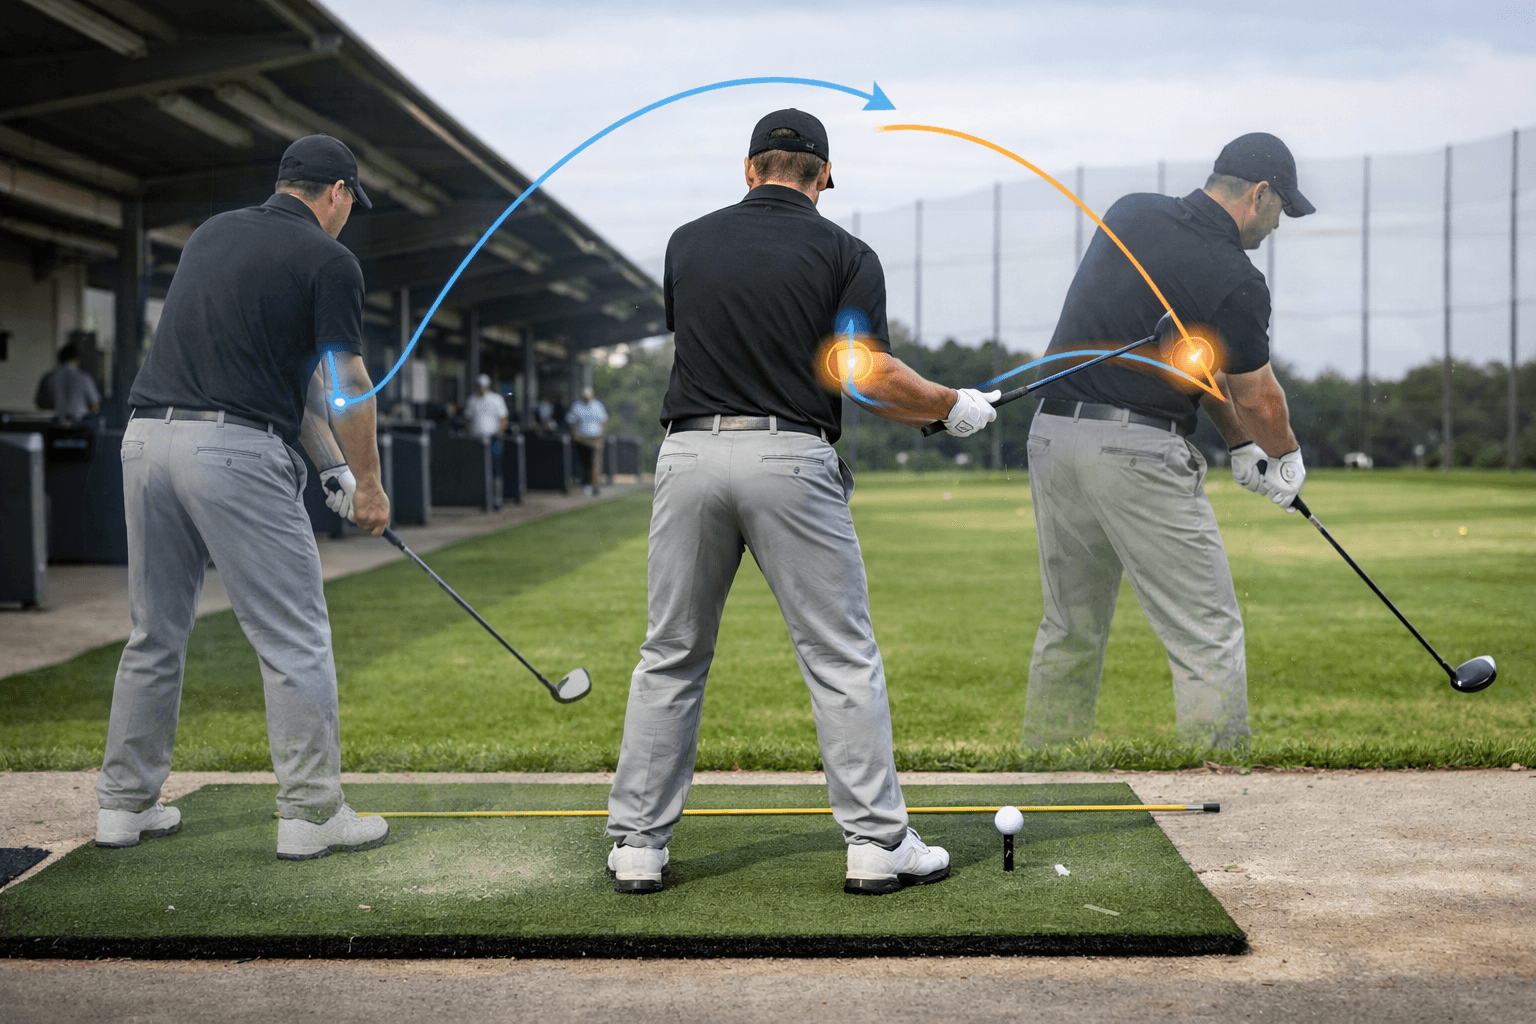
This is the section that actually changes your ball flight. A proper trail elbow tuck on the downswing — keeping that elbow close to your body rather than flying out away from your ribs — is what lets your hands deliver the clubface square at impact without your elbow absorbing the shock.
The Sequencing Order That Matters
Your swing has a chain of command: hips, then chest, then arms, then hands. When golfers skip that order and fire the hands and arms first, the trail elbow gets stuck out in front, forcing an early release and an open or closed clubface at impact. Fixing that sequence fixes the strike and takes the load off the joint in one motion.
A Simple Drill to Train the Tuck
Try the “towel drill”: tuck a small towel or glove under your trail armpit and make half-speed swings without dropping it. If the towel falls before impact, your elbow is disconnecting from your body too early.
Work through these steps over a practice session to retrain the tuck:
Set up with normal grip pressure and a slightly bowed lead wrist at address.
Place a towel under your trail arm.
Make slow, half-speed backswings, keeping the towel pinned.
Rotate through to impact without letting the towel drop.
Speed up gradually over 10-15 reps once the towel stays put.
Hit soft wedge shots using the same feeling, no ball-striking pressure.
Progress to full swings with mid-irons once contact feels consistent.
Players who train this get two results at once: cleaner, more compressed strikes and noticeably less strain on the inside of the elbow, because the big muscles are doing the work the small joint used to absorb.
Swing Plane, Wrist Hinge, and Clubface: Where It All Comes Together
Your swing plane and wrist hinge decide where the clubface points at impact, and a mistimed hinge is often the last domino that tips into elbow pain. If your hinge sets too early or releases too late, your hands make a last-second correction — and that correction routes straight through the trail elbow.
A proper wrist hinge happens naturally as the club moves back, not forced by the hands. Late-releasing the hinge (holding your wrist angle deep into the downswing) is what better players do to generate lag and power, but it only works if your elbow tuck and sequencing are already sound. Try it with a broken sequence and you’ll just delay the strain, not eliminate it.
Forearm strength plays a role here too, but it’s not the whole story. Stronger forearms tolerate more load, which is why some golfers with rough mechanics never get sore while others do. Building grip and forearm strength with a hand gripper or reverse wrist curls a couple times a week helps, but it’s a supplement to fixing your mechanics, not a replacement for it.
Swing Element
Common Fault
Fix
Grip pressure
Squeezing at 8-9/10
Loosen to roughly 4/10
Lead arm
Locked and rigid
Straight but relaxed
Trail elbow
Flying away from body
Tuck close through downswing
Wrist hinge
Early or mistimed release
Let it set naturally, release late
If your setup checks every box in that table and you’re still sore, it’s worth getting a physical therapist or golf-specific physio to look at your elbow directly — some cases need targeted stretching or a brace alongside the swing fix. For more drills on swing plane and release timing, golfyet.com has additional breakdowns worth running through once you’ve got the tuck feeling natural.
Frequently Asked Questions
Does golfer’s elbow always mean I need to stop playing and rest?
No. Rest alone treats the symptom, not the cause. If your grip, tuck, and sequencing stay broken, the pain comes back once you resume play — fix the swing fault alongside any rest period.
How long does it take to fix a chicken wing and see the elbow pain improve?
Most golfers notice looser, less sore elbows within 2-3 range sessions of drilling the trail elbow tuck, though full swing changes under pressure on the course usually take 4-6 weeks of repetition.
Can a stronger grip on the club cause golfer’s elbow?
Yes, an overly strong grip combined with an early hand release adds torque right at the elbow through impact. Neutralizing your grip and tucking the trail elbow removes most of that extra torque.
Here's the number that changes everything: your odds of winning the Masters patron badge lottery sit somewhere around 1 in several hundred, and Augusta National doesn't publish the exact figure. If you've been picturing golf…
Titleist sells more golf balls than any other brand on the planet, and the Pro V1 is the one every pro shop assistant reaches for first when you ask "what should I be playing?" That's…
Searching "langer golf" brings up one man, not a brand: Bernhard Langer, the German who won the Masters in 1985 and 1993, became the first world No. 1 and starred in the Ryder Cup. He…